
-
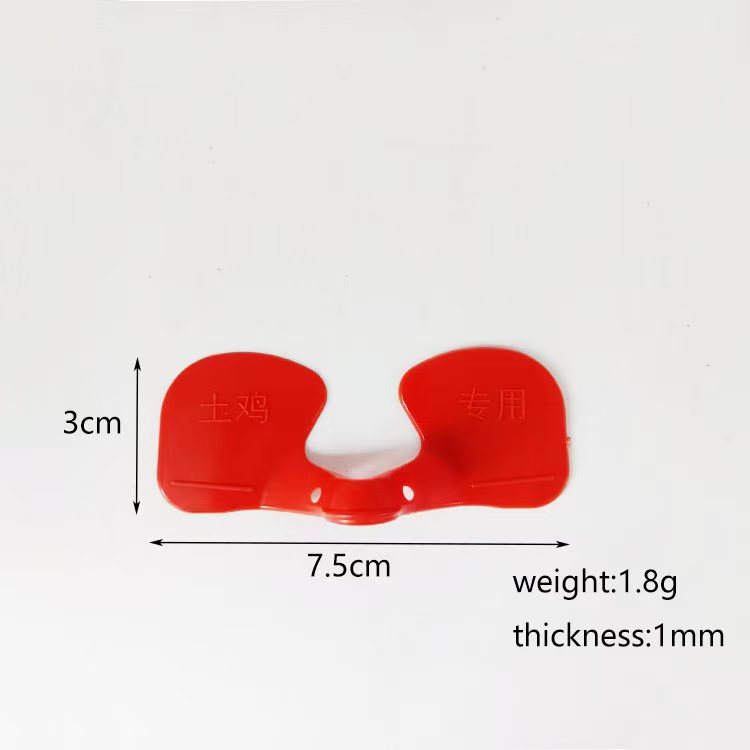 Chicken Glasses
Chicken Glasses for Anti-Fighting, Anti-Pecking & Anti-Toe-Pecking...
-
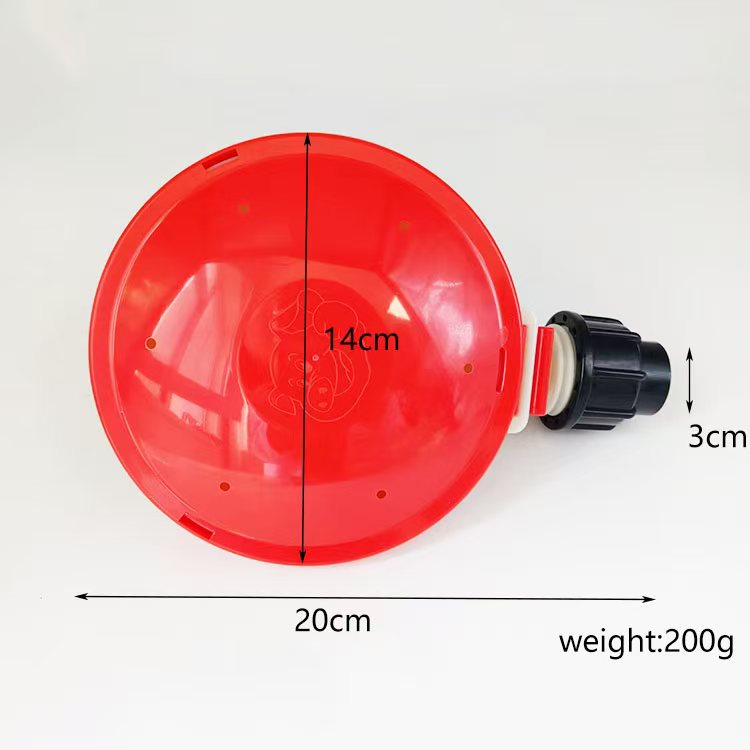 Water Level Controller
Water Level Indicator is a device designed to monitor the liquid level (e.g., water, oil) in a tank ...
-
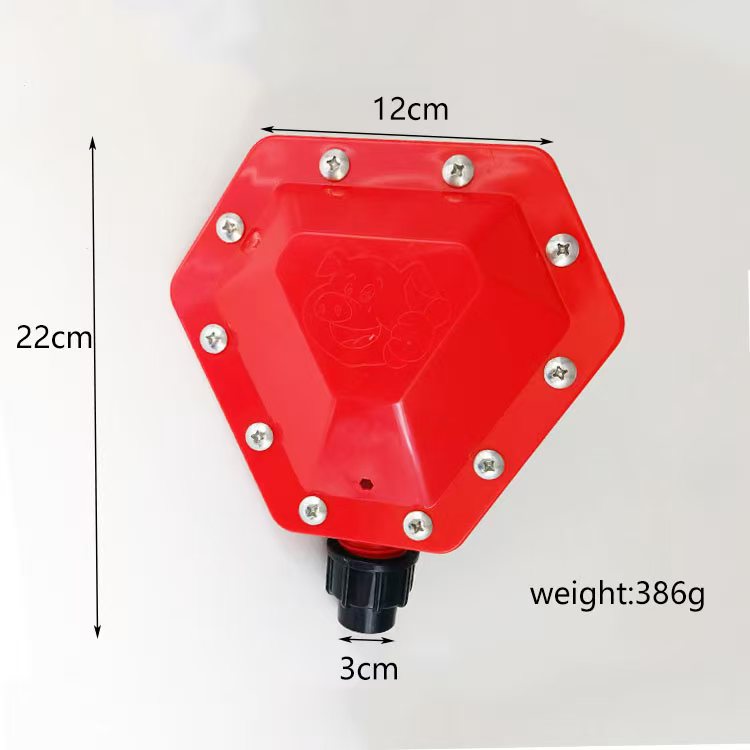 Water Level Controller
Water Level Indicator is a device designed to monitor the liquid level (e.g., water, oil) in a tank ...
-
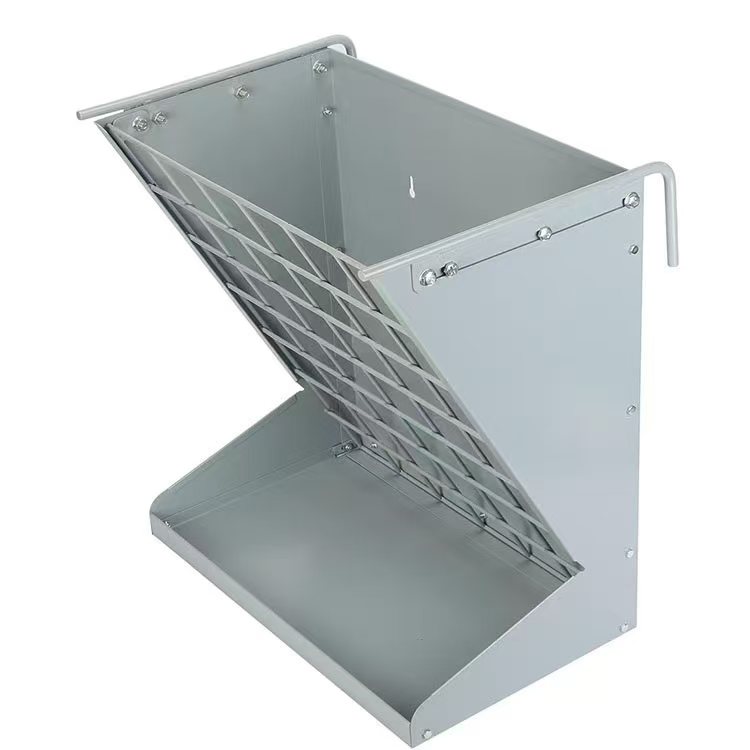 Hay Feeder
Hay Feeder – Product Introduction Product Overview A Hay Feeder is a specialized equipment designed...
-
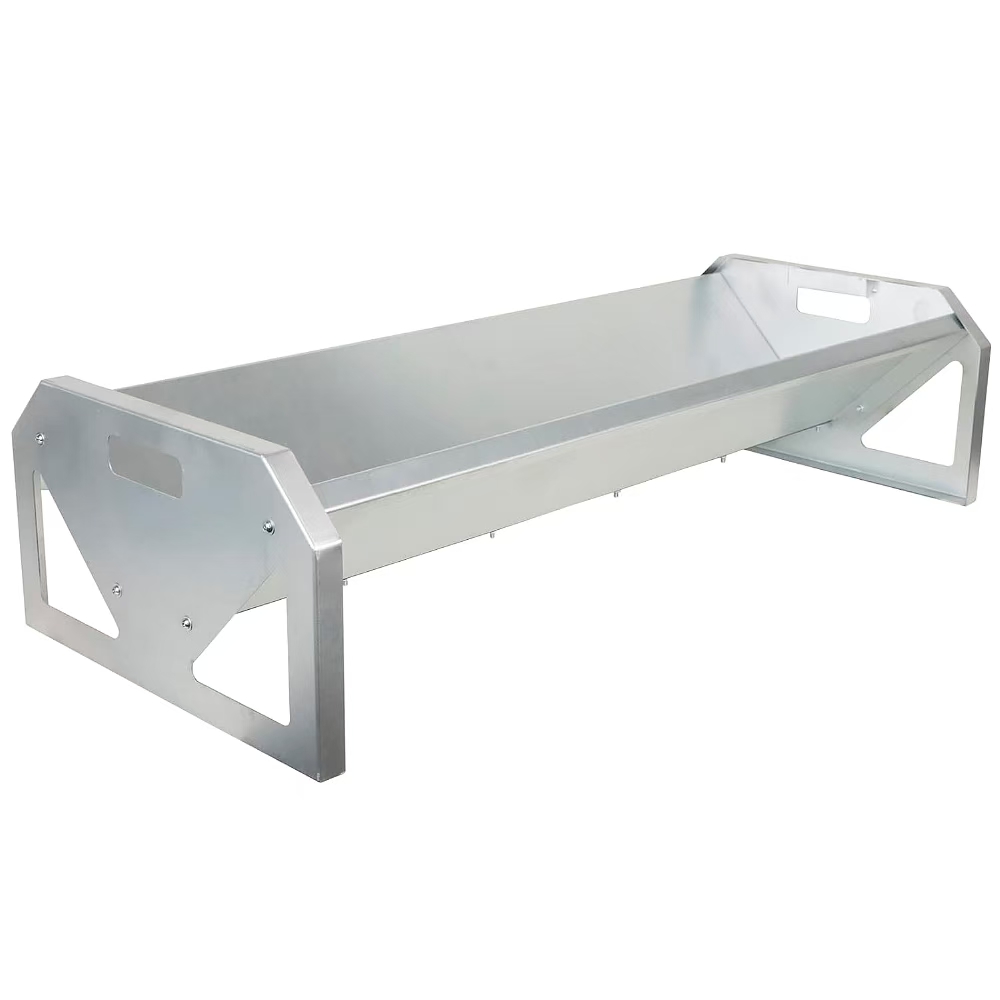 Hay Feeder
Hay Feeder – Product Introduction Product Overview A Hay Feeder is a specialized equipment designed...
What are the specific operating steps of the multiple stretching process?
Apr 12
2025
The multiple stretching process is the process of gradually stretching a flat blank into complex parts of the desired shape and size. The following are the specific operating steps:
Initial blank preparation: Calculate and cut suitable flat blanks based on the size and shape requirements of the parts. The size of the blank usually takes into account the material flow and deformation during multiple stretching processes, and is generally larger than the size of the final part. For example, for a circular stretched part, the diameter of the blank may be 2-3 times the diameter of the final part, depending on the complexity and material properties of the stretched part.
First stretching: Place the prepared blank into the stretching mold and apply a certain amount of pressure through a press, causing the blank to start deforming under the action of the convex and concave molds, forming a preliminary stretching shape, such as a shallow cup shape. During the first stretching, it is important to control the stretching coefficient, typically between 0.5-0.7, to ensure uniform material flow and avoid excessive thinning or tearing. At the same time, it is necessary to adjust the edge pressure reasonably to prevent the blank from wrinkling during the stretching process.
Intermediate annealing treatment (if necessary): If the material undergoes work hardening after the first stretching, resulting in a decrease in toughness and hindering subsequent stretching, intermediate annealing treatment is required. Heat the stretched workpiece to an appropriate temperature, hold it for a certain period of time, and then slowly cool it to restore the material's microstructure to a softened state, improve the material's plasticity, and facilitate subsequent stretching processes. For example, for some high-strength alloy steel tensile parts, stress relief annealing may be required after the first stretching, and the annealing temperature is generally around 600-700 ℃.
Subsequent stretching: Place the workpiece that has undergone intermediate processing (if any) into the next level stretching mold for further stretching. The stretching coefficient gradually decreases with each stretch, usually between 0.7-0.85. As the number of stretches increases, the shape of the workpiece gradually approaches that of the final product. During each stretching process, attention should be paid to controlling process parameters such as stretching speed and edge pressure to ensure the stability of the stretching process and the quality of the workpiece. For example, for a deep cylindrical part, it may be necessary to stretch it 3-5 times, with the height of the workpiece gradually increasing and the diameter gradually decreasing after each stretch.
Size and shape adjustment: During multiple stretching processes, there may be deviations in the size and shape of the workpiece, which require appropriate adjustments. This can be achieved by adjusting the gap, fillet radius, or changing the stretching process parameters of the mold. For example, if the thickness of the cylinder wall of the workpiece is found to be uneven, it can be improved by adjusting the gap between the convex and concave molds; If the mouth of the workpiece expands or contracts, it can be corrected by adjusting the fillet radius of the stretching mold.
Final shaping: After multiple stretches, the workpiece has basically reached the desired shape and size, but there may still be some minor shape errors or surface unevenness issues. At this point, the final shaping process needs to be carried out by applying a certain amount of pressure to the workpiece using a shaping mold, causing it to undergo slight plastic deformation under the action of the mold, further improving the dimensional and shape accuracy of the workpiece, and making the surface of the workpiece smoother. For example, for some stretch parts with high requirements for appearance quality, final shaping can make the flatness of the workpiece within ± 0.1mm and the surface roughness reach Ra0.8-Ra1.6 μ m.
Quality inspection: Conduct comprehensive quality inspection on the final stretched parts, including visual inspection, dimensional accuracy measurement, and performance testing. The appearance inspection mainly checks for defects such as cracks, scratches, wrinkles, etc; Dimensional accuracy measurement uses measuring tools such as calipers, micrometers, coordinate measuring instruments, etc. to measure key dimensions and ensure that dimensional deviations are within the tolerance range required by the design; Performance testing is conducted based on the usage requirements of the stretched parts, such as hardness testing, strength testing, toughness testing, etc., to ensure that the stretched parts can meet the actual performance requirements for use.


